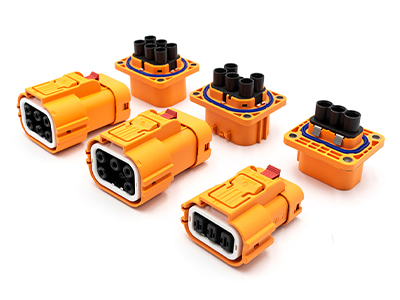
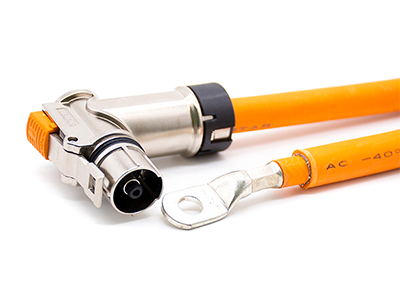
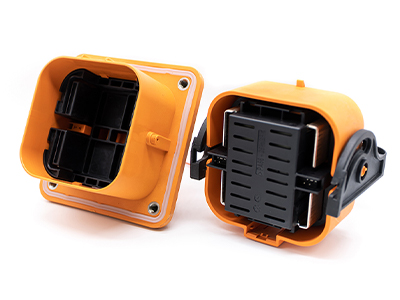
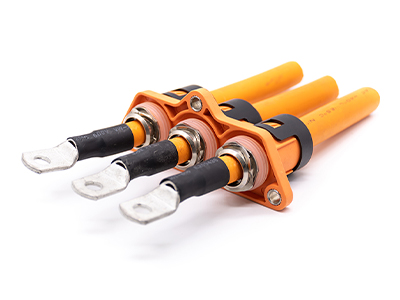
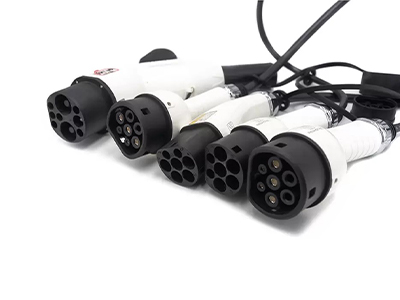
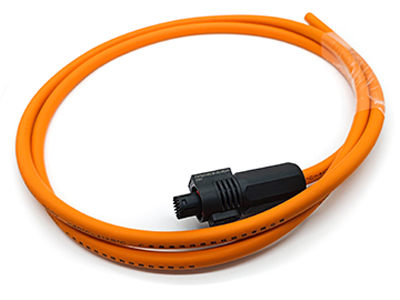
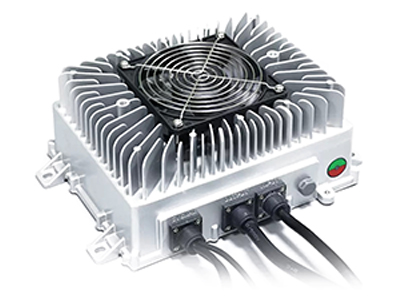
How to Remove a 2 Pin Connector: Your Foolproof Beginner’s Guide to Doing It Right

HVIL High Voltage Interlock Connector 2Pin 8mm 200A Socket Plastic W/busbar M8 Thread Hole

Introduction: Why You Should Read This

Have you ever been stuck in a DIY project because you couldn’t figure out how to detach a 2 pin connector? Yes, those little plastic-and-metal devils that often appear more complex than they really are. Whether it’s for a car repair, an electronic fix, or a home improvement task, knowing how to remove a 2 pin connector is a skill that’ll make you the neighborhood hero. Let’s dive right into it!

2 pin HVIL Connector

Gather Your Tools: The Essentials

Before you dive into your DIY project, make sure you have the essential tools on hand. Generally, you’ll need:

  1. Flat-Head Screwdriver
  2. Needle-Nose Pliers
  3. Safety Glasses
  4. Optional: Rubber Gloves

Safety First: Don the Armor

Always put on your safety glasses to protect your eyes from any potential debris. If you’re working with something that’s electrically charged, wearing rubber gloves wouldn’t hurt either. After all, safety is sexy!

Identification: Know Your Enemy

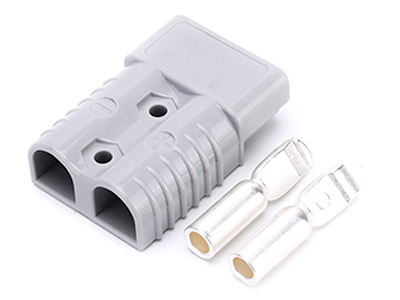
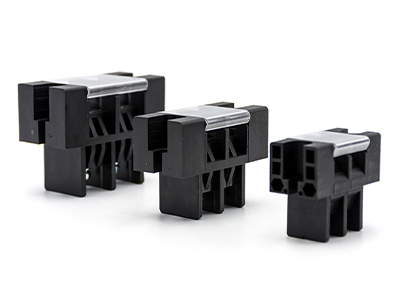
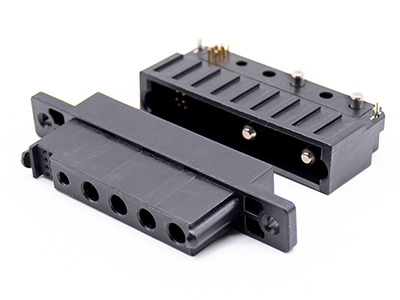
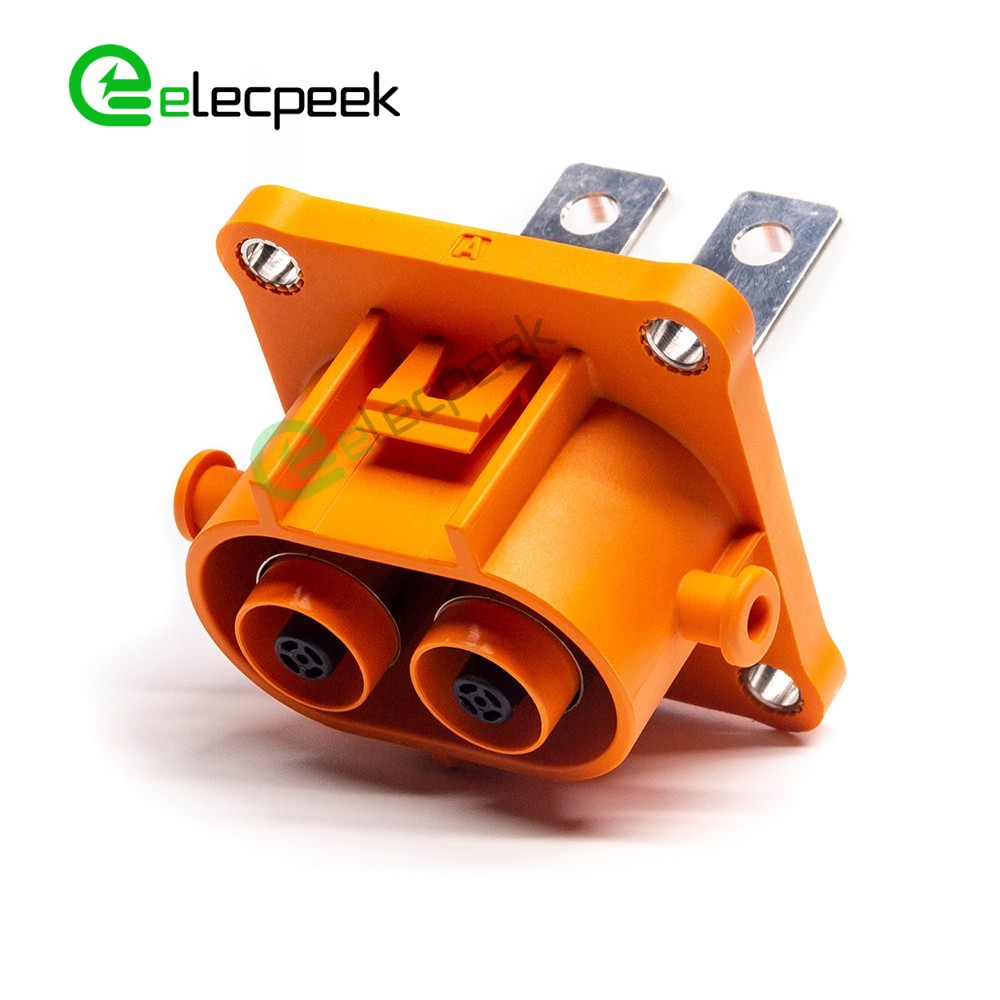
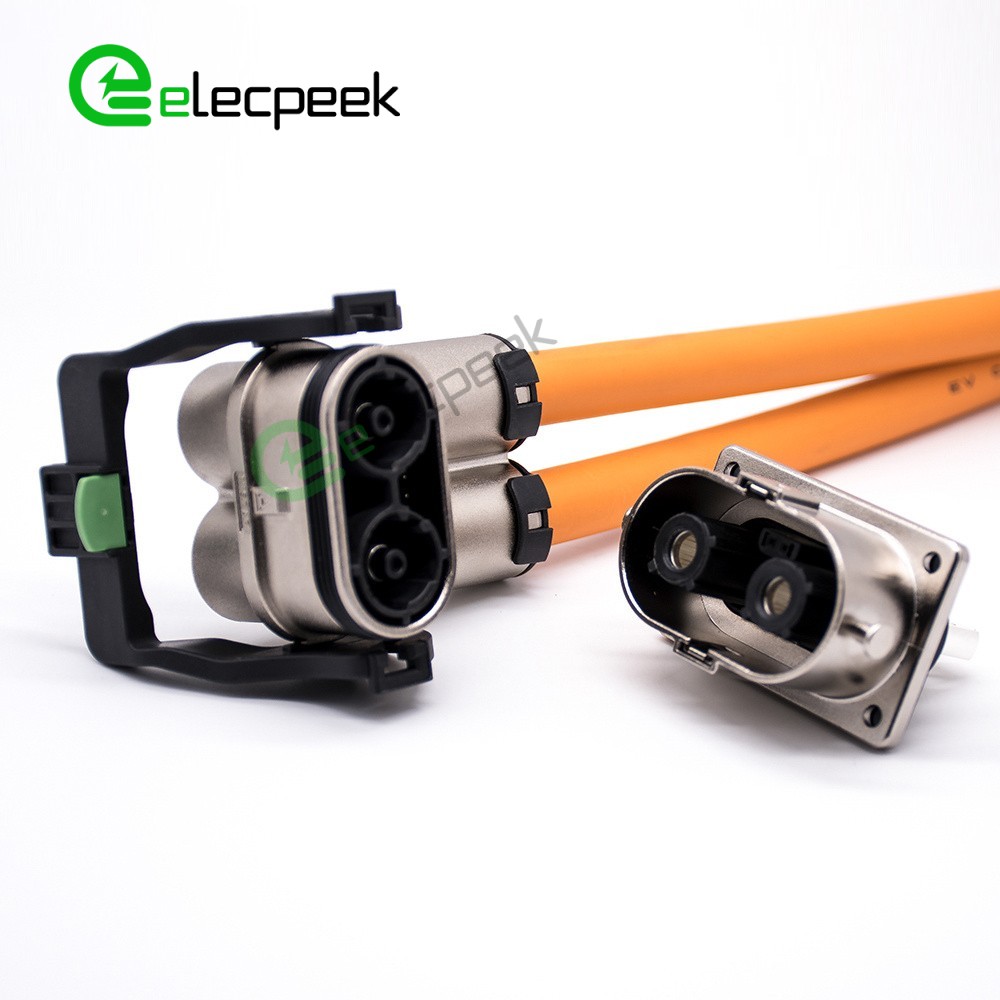
Take a good look at your 2 pin connector. Generally, they have a male end (the pin) and a female end (the receptacle). Identify any locking mechanisms, like clips or latches, that may be securing the two ends together.

The Actual Detachment: Let’s Do This

Step 1: Loosen the Locking Mechanism

If your connector has a locking mechanism, use your flat-head screwdriver to gently pry it open. Be gentle—these are often made of plastic and can break easily.

Step 2: Pinpoint the Release Tab

Many 2 pin connectors have a release tab that you must depress to disconnect them. If your connector has one, use your screwdriver to press down on it. Alternatively, needle-nose pliers can be used if the tab is recessed.

Step 3: Pull it Apart

Once any locks or tabs are disengaged, hold each end of the connector—remember, one end is the pin, and the other is the receptacle. Gently wiggle and pull them apart.

Troubleshooting Tips: When It Doesn’t Go As Planned

  1. Connector Feels Stuck: If the 2 pin connector feels like it won’t budge, do not use excessive force as this could damage the pins. Instead, double-check to ensure that all locking mechanisms are fully disengaged. Sometimes, a bit of gentle wiggling while pulling can help free a stubborn connector.
  2. Visible Dirt or Debris: Sometimes, dirt or other debris can get lodged into the connector, making it difficult to separate. If you notice this, use a can of compressed air to blow out any foreign particles. Ensure the device or circuit is powered off before doing so.
  3. Corroded Pins: If the pins or the receptacle show signs of corrosion, this could be the reason it’s challenging to disconnect. A bit of electronic contact cleaner can help in such cases. Spray it on, let it sit for a few minutes, and then try disconnecting again. Remember always to turn off the power and ensure the cleaner is safe for your specific type of connector before applying.
  4. Damaged Locking Mechanism: Over time, the locking mechanism of a connector might wear out or become damaged. If you notice visible damage, it might be time to replace the connector. But if you must separate it now, be extra gentle and use tools like tweezers or needle-nose pliers for more precision.
  5. Heat and Cold: Sometimes, the environment can affect the connectors. If the connector has been exposed to extreme cold, gently warming it (avoiding the use of an open flame) can make it more pliable. Similarly, if it’s too hot, letting it cool down might help.

Remember, patience is key. Rushing or forcing a connection can cause more harm than good.

Final Tips: What to Do Next

Inspect the Pins

After you’ve successfully separated the connector, check the pins for any signs of wear and tear, or corrosion. If the pins look damaged, you may need to replace the connector entirely.

Secure Your Work Area

Make sure to keep all parts, tools, and connectors in a secure area. You’ll thank yourself later when you’re not playing an adult version of “Where’s Waldo?” with a crucial 2 pin connector.

Conclusion: Take a Bow, DIY Warrior

Congratulations, you’ve done it! You’ve successfully removed a 2 pin connector and are now one step closer to DIY mastery. Armed with this new skill, who knows what project you’ll tackle next?

Happy tinkering!

Leave a Reply

Your email address will not be published. Required fields are marked *